

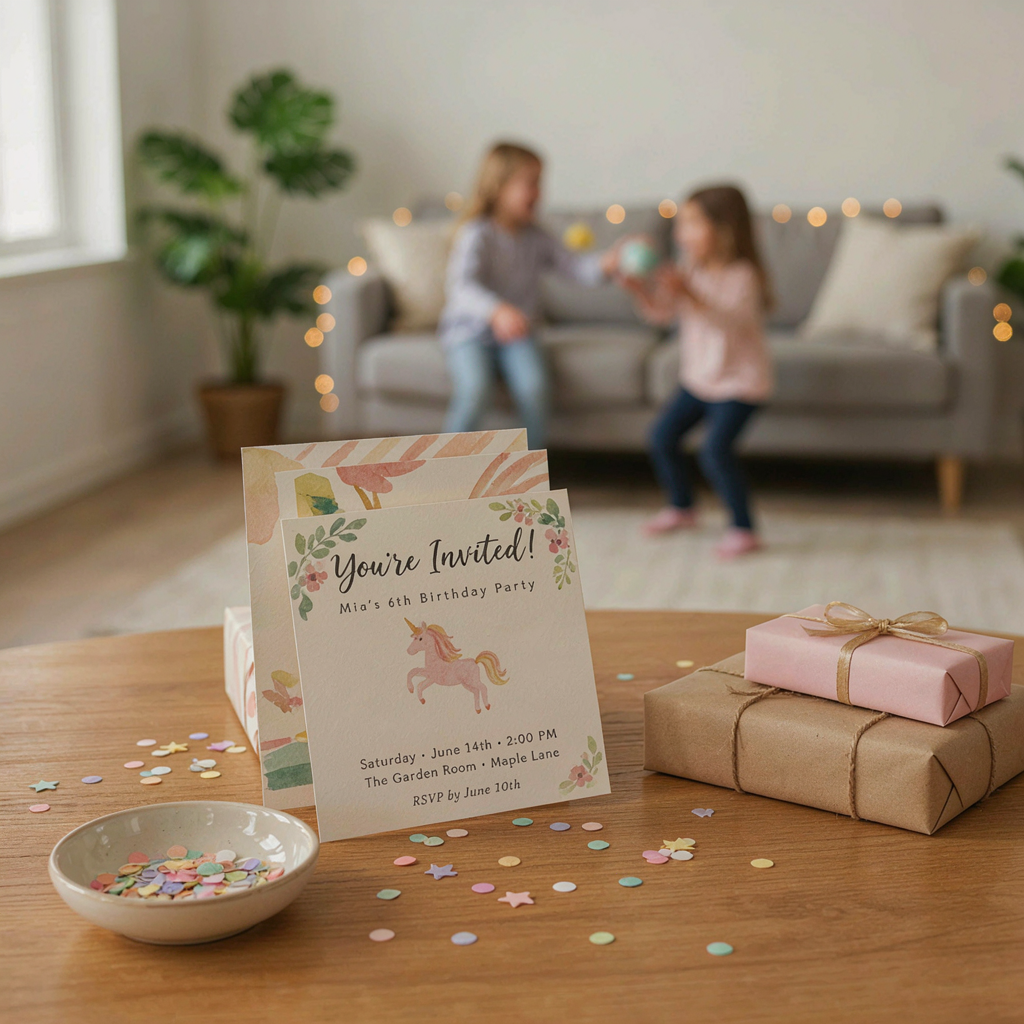
A great kids birthday invitation does more than announce a date. It gives guests the first impression of the celebration and creates excitement about what is coming. Whether you are planning a small gathering at home, an outdoor adventure, or a fully themed birthday party, the invitation should feel cheerful, personal, and easy to understand.
Creating the perfect invitation does not require advanced design skills. With a clear plan, a suitable theme, and a few thoughtful details, you can create an invitation that looks beautiful and gives guests everything they need.
1. Start With the Birthday Child
The best invitation begins with the child rather than the decorations.
Think about their personality, favorite activities, colors, animals, hobbies, or interests. A child who loves building might enjoy a construction-inspired invitation, while a young reader might prefer a storybook design.
You can also include the child’s favorite photograph. A personal image immediately makes the invitation feel more connected to the celebration.
Instead of asking, “What invitation looks popular?” ask, “What would make my child smile?”
2. Choose the Party Theme
If the celebration has a specific theme, let the invitation introduce it.
Popular options include:
- Animals
- Dinosaurs
- Space
- Sports
- Princesses
- Superheroes
- Rainbows
- Cars and racing
- Art parties
- Outdoor adventures
- Under-the-sea celebrations
- Fairytale parties
The invitation does not need to copy every decoration at the party. Choose a few important visual elements and use them to establish the theme.
3. Pick a Color Palette
Color is one of the easiest ways to create a strong invitation design.
Choose two to four main colors that work well together. Bright colors can create an energetic appearance, while pastels can give the design a softer feel.
Try coordinating the invitation colors with the cake, balloons, table decorations, or birthday banner.
A consistent color palette can make even a simple invitation look professionally planned.
4. Create a Strong Headline
The birthday child’s name should be one of the most noticeable elements on the invitation.
Instead of beginning with a long paragraph, use a short and exciting headline.
For example:
“Hooray! Emma Is Turning Six!”
Or:
“Join Liam for an Epic Birthday Adventure!”
A strong headline immediately tells guests what the invitation is about and creates a cheerful first impression.
5. Write Friendly Invitation Wording
Once you have the headline, add a short message that explains what guests can expect.
For example:
“Come celebrate with us for an afternoon of games, treats, laughter, and birthday fun!”
Keep the message conversational rather than overly formal. The goal is to make guests feel welcome.
If the party has a theme, use language that fits it. A space party might invite guests to “blast off,” while a camping party could ask them to “join the adventure.”
6. Include All the Important Details
Beautiful design is important, but practical information is essential.
Make sure your invitation clearly includes:
- Birthday child’s name
- Age, if appropriate
- Party date
- Day of the week
- Start time
- End time
- Location
- RSVP contact
- Special instructions
If the party requires costumes, outdoor clothing, swimming gear, or anything else, mention it clearly.
Parents should be able to look at the invitation and quickly understand exactly where and when the party will take place.
7. Make the Date and Time Easy to Find
Do not hide important information among decorative elements.
Use separate lines or small sections for the date, time, and location. You can also use simple icons such as a calendar, clock, or location symbol.
For example:
Date: Saturday, June 20
Time: 2:00–5:00 PM
Location: Sunny Park
Clear organization makes the invitation easier for busy parents to read.
8. Select the Right Font
Typography can completely change the personality of an invitation.
A playful handwritten or rounded font can work well for the main heading. Use a clean, easy-to-read font for the practical information.
Try not to use too many fonts. Two complementary styles are usually enough.
Also check the font size. Decorative text may look attractive on a computer screen but become difficult to read once printed.
9. Add the Right Images
Images should support the theme rather than compete with the information.
Choose one main illustration or photograph and add a few smaller decorative elements.
For example, an ocean invitation might feature one large illustrated whale with small bubbles and sea plants around it.
Avoid covering the entire background with detailed graphics. Empty space can help the main information stand out.
10. Consider a Photo Invitation
A photograph is especially useful for milestone birthdays.
You can use one large portrait or create a small collage of favorite moments. For a first birthday, a series of baby photographs can create a meaningful design.
For older children, choose an image that reflects their personality or favorite activity.
A photo invitation can also become a keepsake after the party.
11. Make the Design Interactive
If you are creating a digital invitation, consider adding a small interactive element.
You could include:
- A short video message
- Animated balloons
- Moving stars
- A clickable RSVP button
- A party countdown
- Background music
Printed invitations can also include simple surprises such as a puzzle, clue, coloring section, or fold-out message.
The interactive element should enhance the invitation rather than make it difficult to use.
12. Choose Between Printed and Digital Invitations
Both formats have advantages.
Printed invitations can feel more traditional and personal. They are particularly nice for family celebrations, milestone birthdays, or children who enjoy receiving physical cards.
Digital invitations are convenient and easy to share. They can also be updated quickly if party details change.
Think about your guest list and the type of celebration before choosing the format.
13. Keep the Design Balanced
One of the most common invitation mistakes is adding too many elements.
Too many colors, illustrations, fonts, patterns, and decorative objects can make the card look cluttered.
Choose one main visual idea and build the rest of the design around it.
A simple invitation with excellent spacing will often look more polished than a complicated invitation filled with decorations.
14. Add a Personal Detail
A small personal detail can make a big difference.
You might include the child’s favorite phrase, a handwritten note, a tiny drawing, or a playful nickname.
For example:
“[Name] has been counting down the days and hopes you can join the fun!”
This makes the invitation feel like it was created specifically for the guest.
15. Proofread Before Sending
Before printing or sending the invitation, check every detail carefully.
Confirm the spelling of names, date, time, location, contact information, and any special instructions.
Ask another person to review it as well. A second pair of eyes can catch mistakes that are easy to overlook.
If you are printing invitations, always print one test copy before producing the full set.
16. Match the Invitation to the Party Experience
The invitation should give guests a small preview of what will happen at the celebration.
If children will make crafts, mention the creative activity. If there will be outdoor games, give guests a hint about the adventure. If the party has a special dress-up element, make that clear.
This helps guests prepare while making the invitation more exciting.
17. Create a Keepsake When Possible
Some Kids Birthday Invitations are worth saving. If the party is a first birthday or major milestone, consider creating a design that feels like a small memory card.
A photograph, meaningful quote, special illustration, or milestone message can turn the invitation into something parents and family members may want to keep.
Final Thoughts
Creating the perfect kids birthday invitation is about finding the right balance between personality, creativity, and useful information. Start with the birthday child, choose a theme that reflects their interests, select a coordinated color palette, and keep the wording friendly and clear.
Add photographs or illustrations where they make sense, organize the essential details carefully, and avoid overcrowding the design.